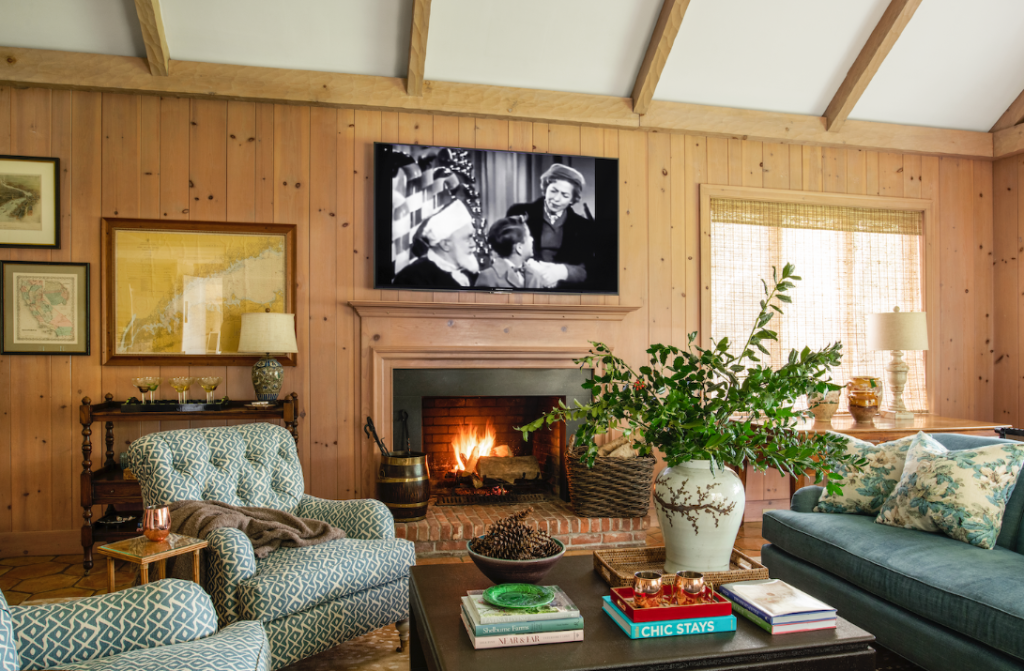
Frame TVs have become increasingly popular in recent years, offering a sleek and stylish alternative to traditional televisions. With their ability to seamlessly blend into any home decor, it’s no wonder why many homeowners are opting for these innovative devices. But let’s face it, the price tag can be a real buzzkill. Fear not, budget-conscious design enthusiasts! Here’s your ultimate guide to crafting your own DIY Frame TV, complete with tips, tricks, and inspiration to make your TV the envy of your home.
Planning Your Design
- Before you begin, it’s essential to have a clear vision of the design you want to achieve. Consider factors such as the size and style of your TV, as well as the aesthetic of your room.
- Browse online for inspiration and gather ideas for frame designs that complement your decor.
- Take precise measurements of your TV screen to ensure that your frame will fit perfectly.
Gather Materials and Tools
Measuring tape, saw (miter saw for precise cuts), drill, screwdriver, sandpaper, wood glue, paint or stain, picture hanging hardware, and your chosen frame materials.
Measure First
Measure your TV’s dimensions and cut your frame pieces accordingly. Miter cuts for a seamless look are recommended, but not essential.
Building the Frame
- Start by cutting your wooden frame pieces to the appropriate lengths using a saw. Be sure to cut precise 45-degree angles for clean corners.
- Sand the edges of each piece to remove any rough spots and create a smooth finish.
- Assemble the frame by applying wood glue to the joints and securing them together with nails or clamps. Allow the glue to dry completely before proceeding.
Finishing Touches
- Once the frame is assembled, it’s time to add your desired finish. You can paint the frame to match your decor or apply a stain for a more natural look.
- If you want to add decorative trim, fabric, or wallpaper, now is the time to do so. Get creative and experiment with different materials to achieve the desired effect.
- Allow the finish to dry thoroughly before moving on to the next step.
Mounting the TV
- With your frame complete, it’s time to mount your TV. Follow the manufacturer’s instructions for mounting your specific TV model.
- Once the TV is securely mounted, attach the frame to the wall using picture-hanging hardware once the TV is securely mounted. Make sure the frame is level and securely anchored to the wall.
Enjoying Your DIY Frame TV
- Step back and admire your handiwork! Your DIY frame TV is now ready to enjoy.
- Turn on your TV and marvel at how seamlessly it blends into your decor. Invite friends and family over to show off your custom creation.
Crafting your own DIY frame TV is a fun and rewarding project that allows you to customize your home entertainment experience. With just a few materials and a little creativity, you can create a stylish and functional addition to any room in your home. So why wait? Roll up your sleeves and get started on your DIY frame TV today!


